HOUSES
Genesis Construction and Photo Tours:
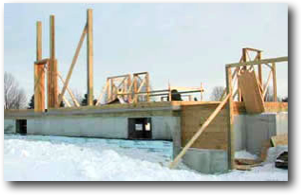
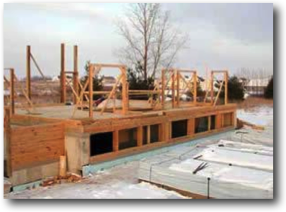
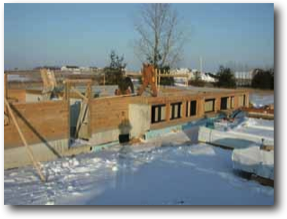
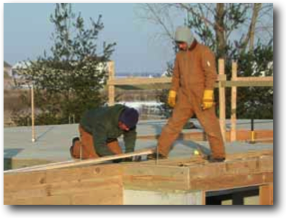
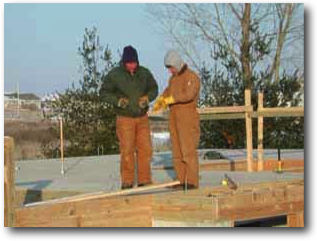
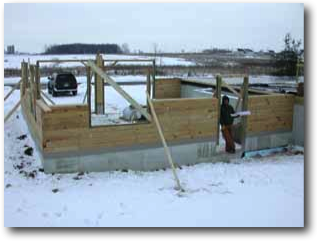
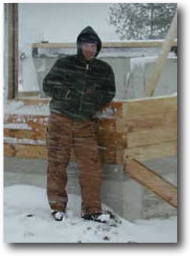
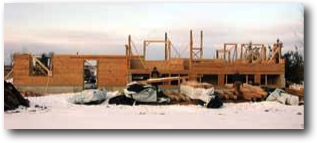
Genesis 2 in Wisconsin
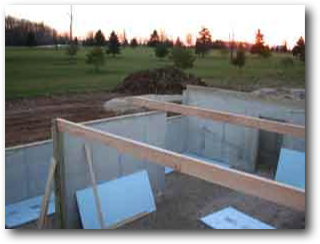
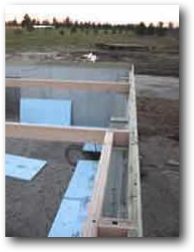
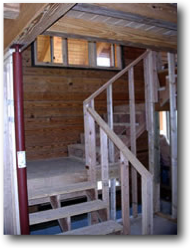
Construction, Photo Tour
Genesis 2 in Washington
Exterior
Arcadia
Indian Summer
Morningstar
Equinox
Horizon
Brandywine
Genesis
Aquarius
Terra
Blue Mountain
Meridian
Southern Pines
Southern Comfort
Passive Solar
Custom Design
Extreme
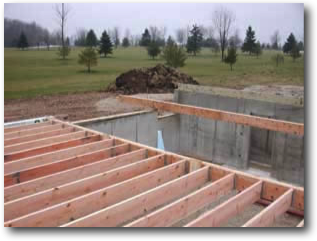
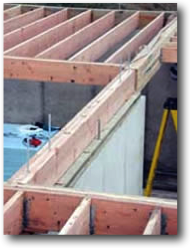
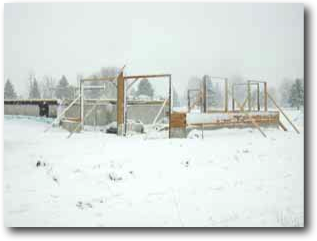
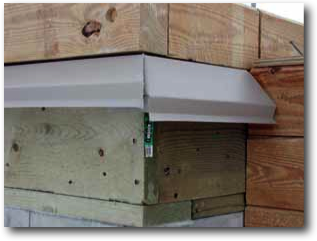
Genesis 2 in Colorado
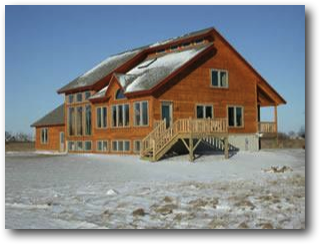
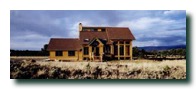
Genesis 3 with Vista Front - A dramatic 2610 square foot home on three levels.
Genesis 3 - Northeast View with optional North Entry Porch. The wrap-around deck was added by the owner. Western Colorado