EQUINOX 3240 + 1 in NORTH CAROLINA
Construction Tour
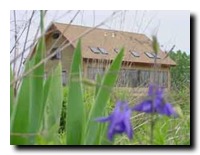
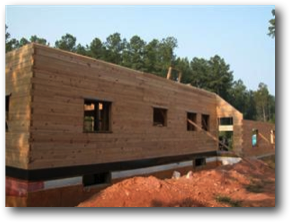
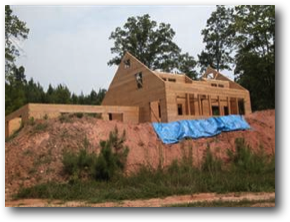
This modified Equinox 2 has extra courses, an optional attached garage, a porch option, and other customization. Once the hill of dirt is gone, the full scope of this dramatic home will be visible.
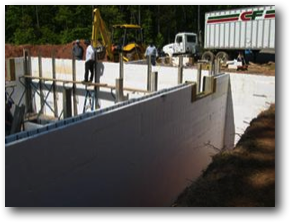
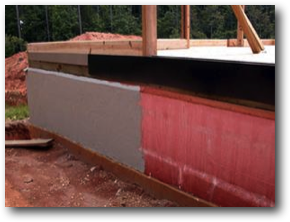
The foundation is built with ICFs (insulated concrete forms). These are a relatively new way of forming a basement. The forms are made of foam, stiffened with plastic ribs. A special mixture of concrete is pumped into the forms, and the forms are left in place. They must be covered with FRX drywall on the inside, and still need to be waterproofed on the outside.
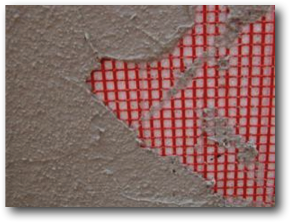
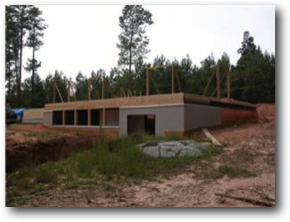
The part of the foundation that is above ground must be stuccoed or covered with stone veneer so that the sunlight does not degrade the foam. Paul used an acrylic flexible stucco applied over a plastic mesh. It is applied with a trowel and colorants could be added.
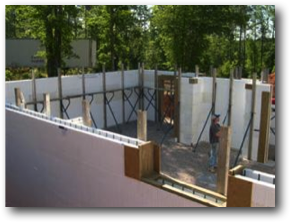
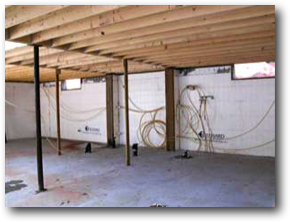
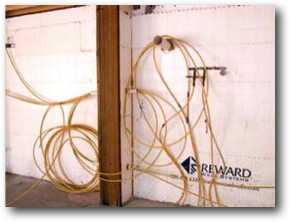
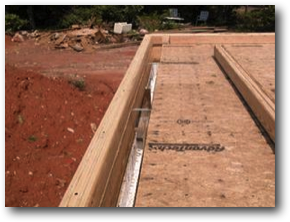
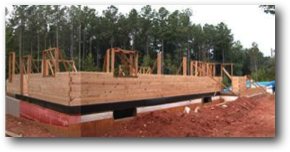
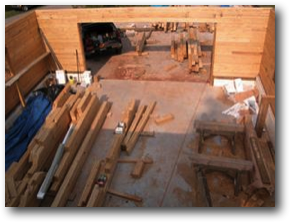
The subfloor must be in place before the kit can be erected. The pilasters (columns) on the north foundation wall stiffen the wall and support the inner north timber wall of the kit. Notice the "pass-thru" plastic pipe that was inserted in the pilaster before the concrete was poured. This allows the radiant heat tubing to run along the North wall to the mechanical area of the home.
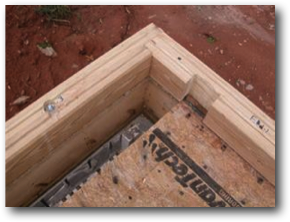
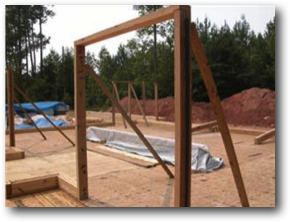
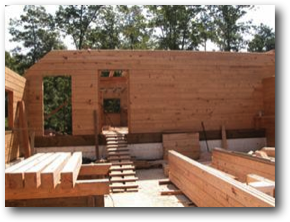
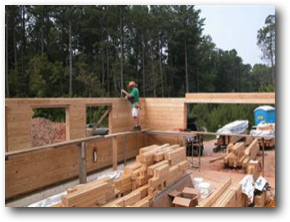
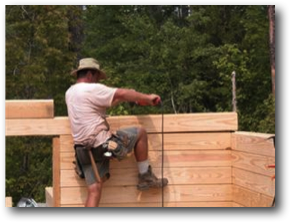
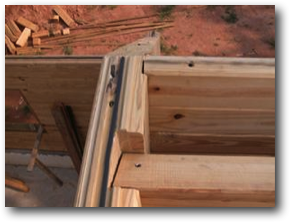
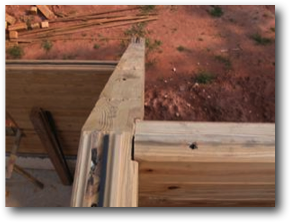
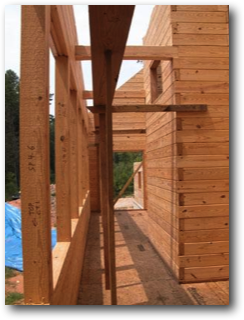
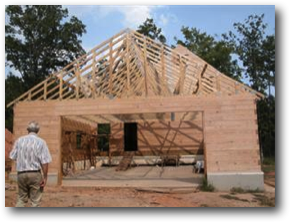
As with so many things, the first row is the most difficult. In the top two pictures, the the outer North wall timber is set, but the inner North timber is not. A pocket is pre-cut in the east timber to receive the end of the inner North timber (upper right photo). The air shaft between the North walls can be seen. As a design modification, in the sunspace (lower right photo), the inner wall has a zig-zag where the stairwell partially divides the sunspace into two areas.
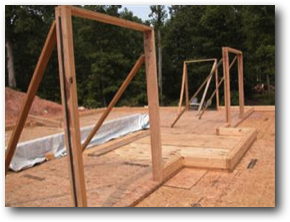
Door frames are set in the first course of timbers. They must be properly braced so that they can act as guidelines for plumbness of the walls as the timbers go up. Window frames are also set as the correct wall heights are reached. On the North the window frames are in both the inner and outer walls where inner and outer windows will allow views to the North without the loss of energy usually associated with North windows. Again, proper bracing is important.
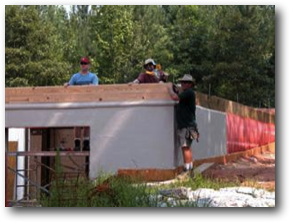
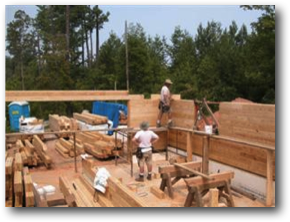
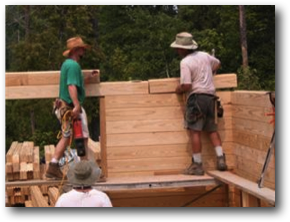
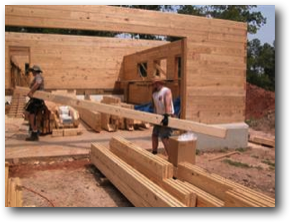
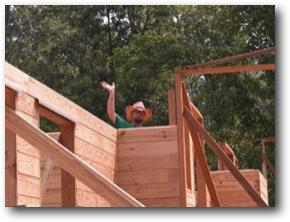
A crew of 3-4 is just right for this project.
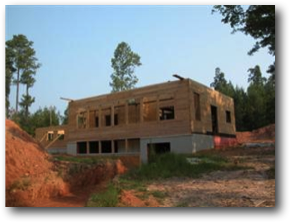
The action speeds up after Row 1 and the door frames are in place. Only two days of work separate the top two pictures from this last "composite" picture of the North side of the house. By the way, this house has an optional attached garage.
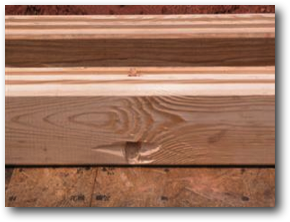
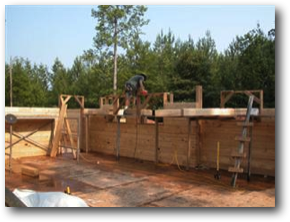
The building process is basically stacking up timbers according to the numbered chart. The lapping exterior corners will be covered by corner caps after the walls are completed.
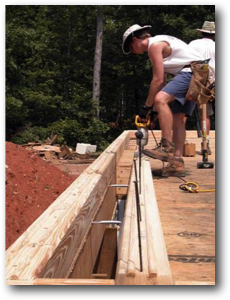
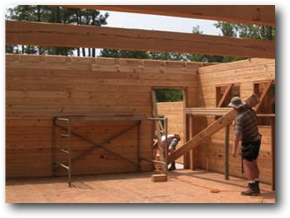
The wall components are all set from inside the house, using scaffolding as necessary.
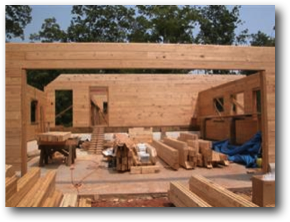
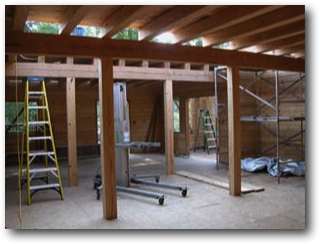
The tool that gets the most use on an Enertia® kit is the electric drill used for driving the special screws that tie each gluelam to the one below. The crew's muscles also get a good workout. In the lower right picture, notice the pockets in the top timber that have been pre-mortised to receive floorbeams. The girders have already been set, and the floor beams are next.
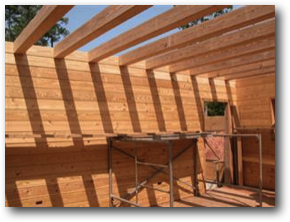
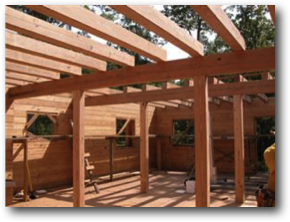
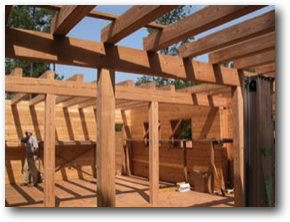
The floor beams have been set. Because the homeowner added extra courses as an option, the beams can pass over the girders, which gives the main level extra height and architectural interest. This is a very beautiful and dramatic stage in the kit construction.
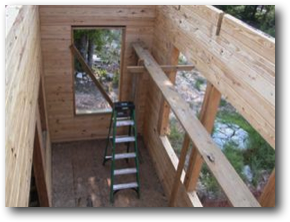
In the lower right corner of the upper left picture you can see the "Genie lift" that was rented for the project. It is very helpful for lifting large pieces of wood. The inset in the North wall is where the main level bathroom will be located.
Plywood temporarily covers the floor beams to form a working floor for the construction of the rest of the kit.
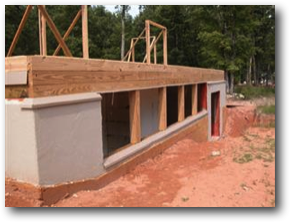
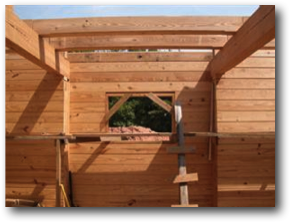
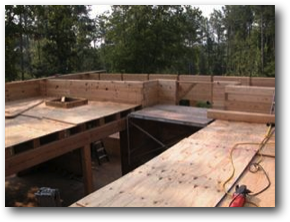
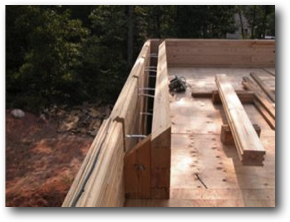
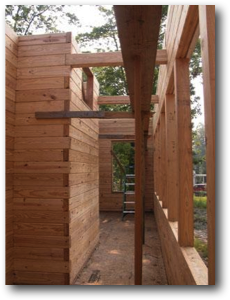
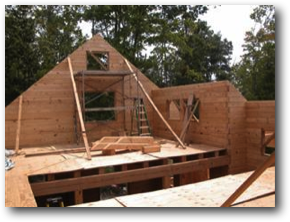
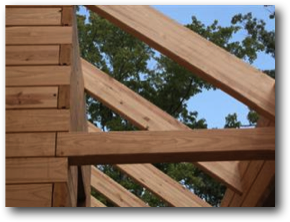
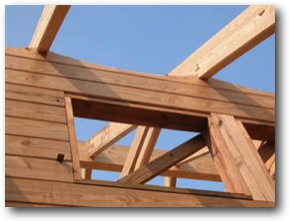
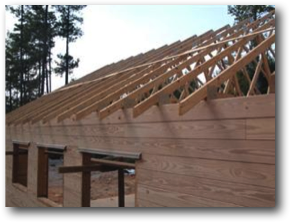
The stacking of gluelams continues on the upper level. On the North there is a short "knee wall" before the angle of the roof begins. The outer North wall has pockets precut to receive the precut rafter ends. The inner North wall has a bevel matching the slope of the roof. The rafters will rest on this angled cut.
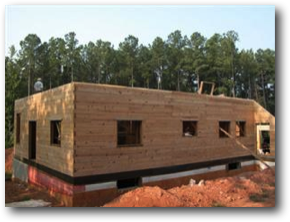
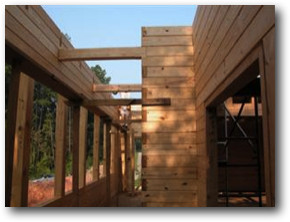
From the outside, you can see the start of the roof slope on the wall between the house and the garage. Notice that the window openings have all been "flashed" with flashing provided with the kit. The windows will be set after the kit is completed.
Back inside again, we look at the intersection of the garage and house. The double North wall is in the house. The shared wall has the pre-cut slopes for the roof, which is a 9.75/12 pitch.
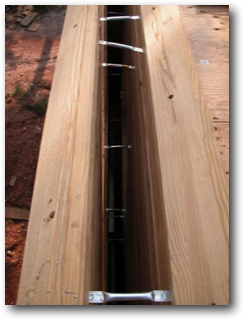
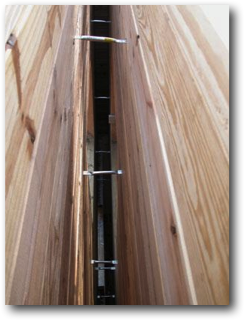
Looking down and into the double north wall you can see the passage for air flow and the metal stiffeners that tie the two walls together for additional strength. In the future electrical cables or other types of conduit can be routed through this double wall, as long as care is taken not to block the airflow with horizontal runs.
The sunspace covers both the main and upper levels of the house. This is the energy engine of the home, where the heat is captured in winter and dissipated in summer. Note the rafter pockets in the South wall.
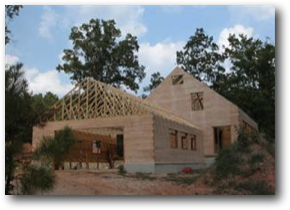
The garage option on this house has been "super-sized." And, out front, the posts have been set to create the window openings on the main level. The house is taking shape.
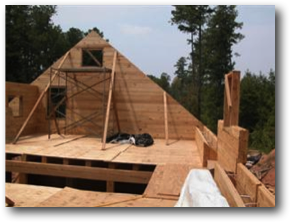
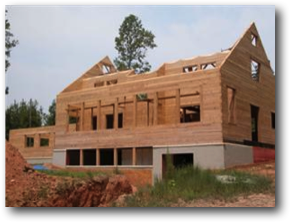
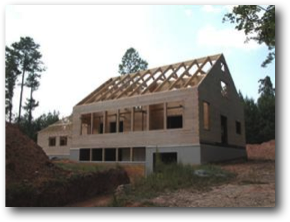
The gable walls of gluelam timbers rises all the way to the peak of the main roof. The garage kit option is complete and will be topped with owner-supplied trusses.
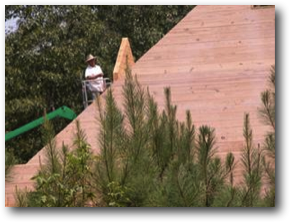
The East and West gable walls must be well-braced in case a storm rolls through before the roof is on. Plywood is temporarily laid on top of the floor beams to provide a work surface. Later it will be used to sheet the garage roof, and beveled tongue-and-groove boards will be nailed bevels down to form the upper level subfloor and main level ceiling.
Scaffold is built in the sunspace to set the timbers that cross over the posts of the South window wall.
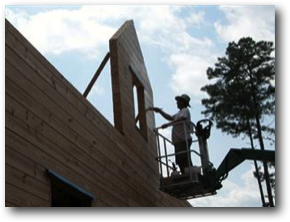
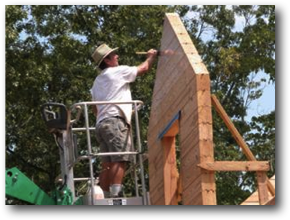
Here Paul is applying a light stain to the exterior of the home. The first batch of stain is included with the kit. Typically the stain would need to be reapplied every five years to protect the timber from greying in the Sun. The stain is sprayed on and then worked into the wood with a brush.
Notice the scallops at the top of the inner sunspace wall. Their purpose is to ease the path of the solar heated air that will rise from the sunspace and travel between the rafters, through the attic and down through the double North wall to the basement and back up through grates in the sunspace floor.
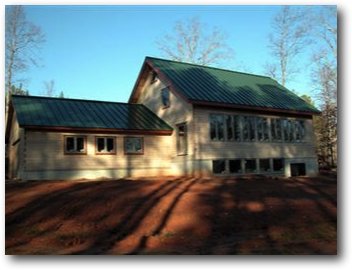
The garage trusses were set in a day, and the roof rafters took another half day. A crew of four and a crane made light work of the job. This completes the kit construction. At this point, the kit is complete. Next, the owner-supplied SIPS roof panels and finished roofing will be applied and the windows will be set to dry-in the house.