HOUSES
Equinox Construction Albums and Photo Tours:Equinox 3240 - Central NC
Construction
Equinox 3240+1 - Western NC
Combination
Equinox 3240 + 1EX - Minnesota
Construction
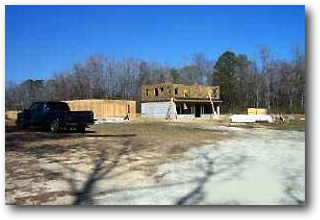
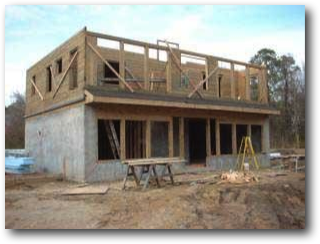
Equinox 2836+1 - Central NC
Combination
Equinox 2836 - Maryland
Photo Tour
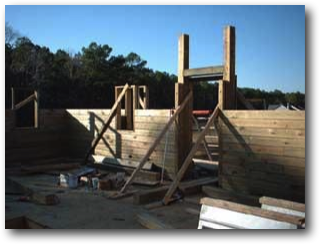
Equinox 2836 - NC Coast
Combination
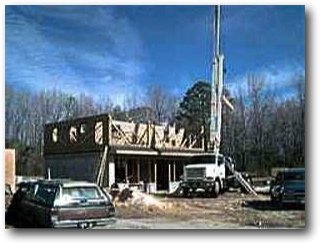
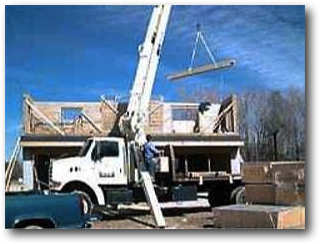
Equinox 3640 - Michigan
Photo Tour
Arcadia
Indian Summer
Morningstar
Equinox
Horizon
Brandywine
Genesis
Aquarius
Terra
Blue Mountain
Meridian
Southern Pines
Southern Comfort
Passive Solar
Custom Design
Extreme

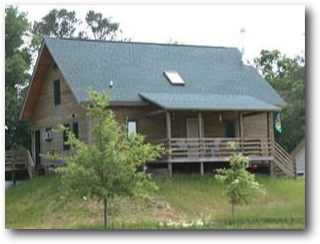
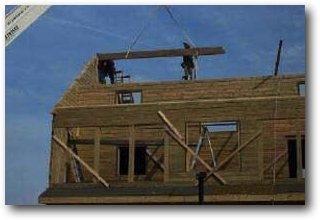
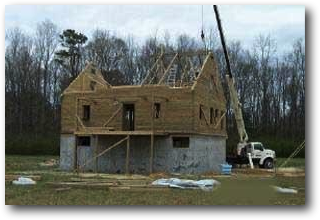
An Equinox 2836 in the Midwest.